
The Connected Rider: Your At-Home Checklists for Pole Work & Rider Biomechanics
And what seems to have been within the blink of an eye, May and June have whizzed by!
May and June were wonderfully busy months for me. Along with seeing my regular students, I ran a few weekend clinics, including my first Combined Horse and Rider Biomechanics Clinic: Training for a Confident Connection, at the new indoor arena not too far from home.
I also attended a horse dissection. While these are not for everyone, I believe anyone who has horses in their lives should attend at least one. It allows you to truly see the horse and understand their whole system, showing how our training, handling, riding, and gear can impact them. And yes, it would have been ideal if this horse could have even spent her days pain-free in the paddock; sadly, she wasn't. For the owner, who had exhausted all resources trying to help before making the heartbreaking decision to put her to sleep, this route finally answered some burning questions. However, these horses offer us the incredible educational opportunity to learn more, to understand more, so that we can adjust our training, riding, healthcare, how we keep them, the gear we put on them, helping professionals and owners alike dive a little deeper and do better for the sake of the horse.
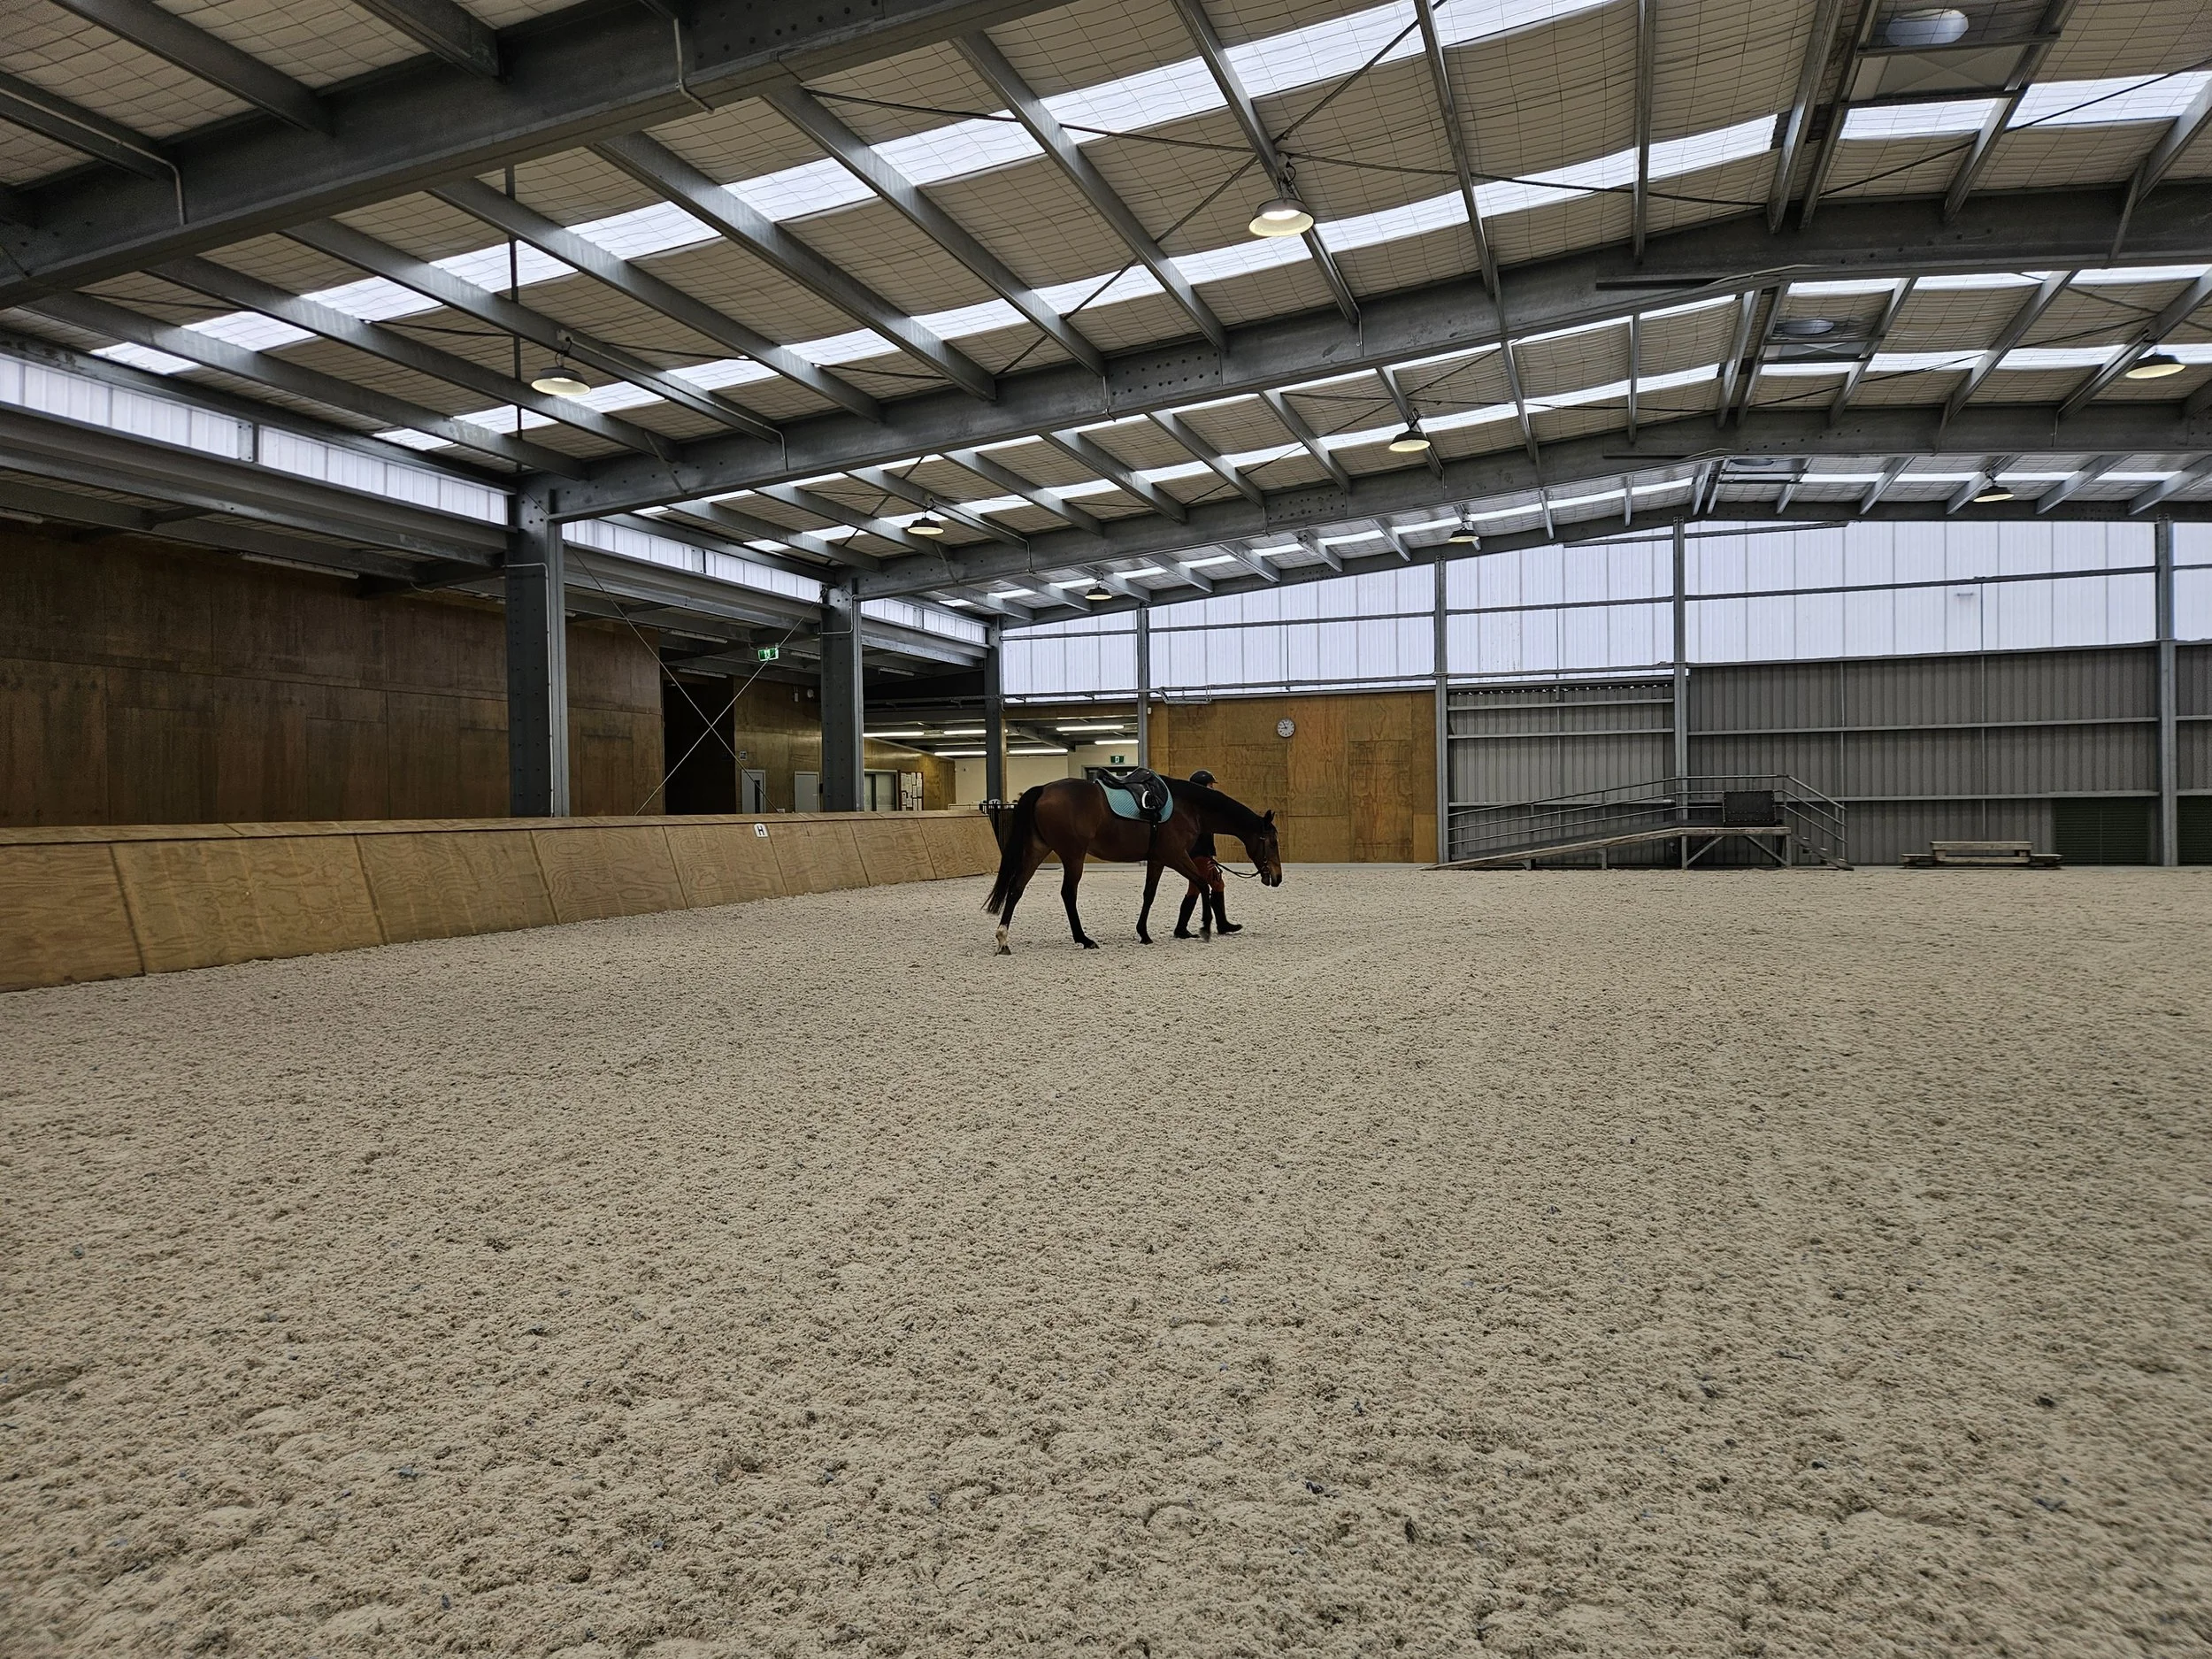
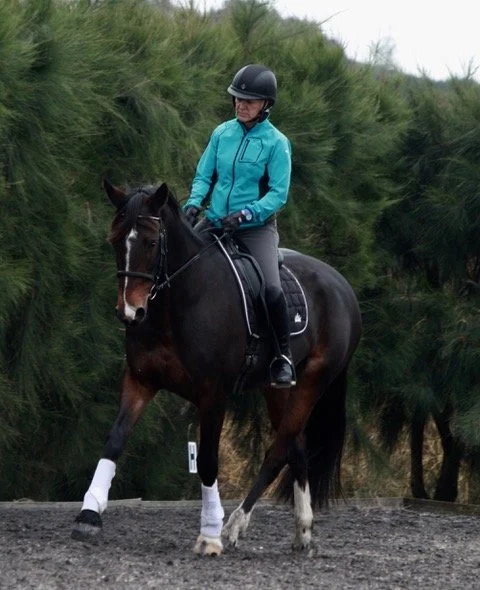
Paula and Jacko, arena familiarisation prior to lesson
Whether I’m coaching a clinic or a private session, I always teach with a very specific purpose in mind. I wanted to share an insight into my coaching style and the exact elements I look for—not just to share my 'why,' but to give you a practical checklist you can use during your own rides or in-hand sessions.
To give you an idea of how this unfolds, my first in-person clinic was at Brookfield Estate. I am so blessed to have a local venue that I can hire for a day or two; it has a large arena and great facilities, making it the perfect spot for a “Poles with a Purpose” clinic (where we can also incorporate jumping for those who want it).
Lessons are always tailored to suit the specific horse and rider combination. Based on my learnings over the years, I believe pole patterns need to be able to be broken down into the smallest, "bite-sized" chunks. This gives us a solid foundation, while also allowing me to build up to more complex patterns and exercises depending on the level and capability of the horse and rider in front of me on the day.
For me, and this is what I’m always looking for in lessons, the poles are more than just objects on the ground; they are a tool to help improve the horse’s way of going, range of motion, straightness, rhythm, balance, whilst also being a positive enrichment outing for the horse.
Thought I would share some of what I’m trying to achieve and the factors that I am taking into consideration during these lessons, so that they could serve you as a checklist for if and when you use poles in your horse’s sessions, or maybe they could be considerations that you might not have thought about or you could congratulate yourself for already being on the page of horse awareness!
I take into consideration the individual horse and rider’s fitness and how often they use poles weekly in their training programs. Depending on the fitness of the horse, poles can either be a low-impact workout or a high aerobic session! Imagine yourself running in mid-calf-height water; I know I wouldn’t be able to do more than a few strides!
For each combination, I’m observing and, when necessary adjusting the exercises, specifically the distance between the poles and patterns, especially if the horse is unable to maintain their self carriage and engage the appropriate muscles for their intended purpose, if the horse starts to come up with compensatory patterns to navigate the pole patterns then I will break down the exercise and pattern more for that horse and then build the horse up over time.
Your Pole Work Checklist
If you are using poles in your training sessions at home (whether ridden or in-hand), here is a quick checklist to get you started. Remember, all horses are individuals!
Start slow: Begin in a walk, then build up to a trot and a canter.
Less is more: Start with just one pole, then add 2, 3, and eventually 4.
The Single Pole Test: Can your horse go over one single pole whilst maintaining straightness, rhythm, balance, and tempo?
The Random Pattern: Can you scatter single poles around the arena (similar to a jump course) and navigate them in all paces while keeping that same rhythm?
Building Up: When you build up to multiple poles, do your horse’s footfalls land directly in the middle of the spaces?
What to look out for: If your horse rushes, hollows its frame, trips, stumbles, or clips the poles, they are losing their balance. Adjust the distances between the poles or adjust the speed where necessary. Adding speed is very rarely the answer when it comes to pole work—it usually just results in the horse falling onto the forehand!
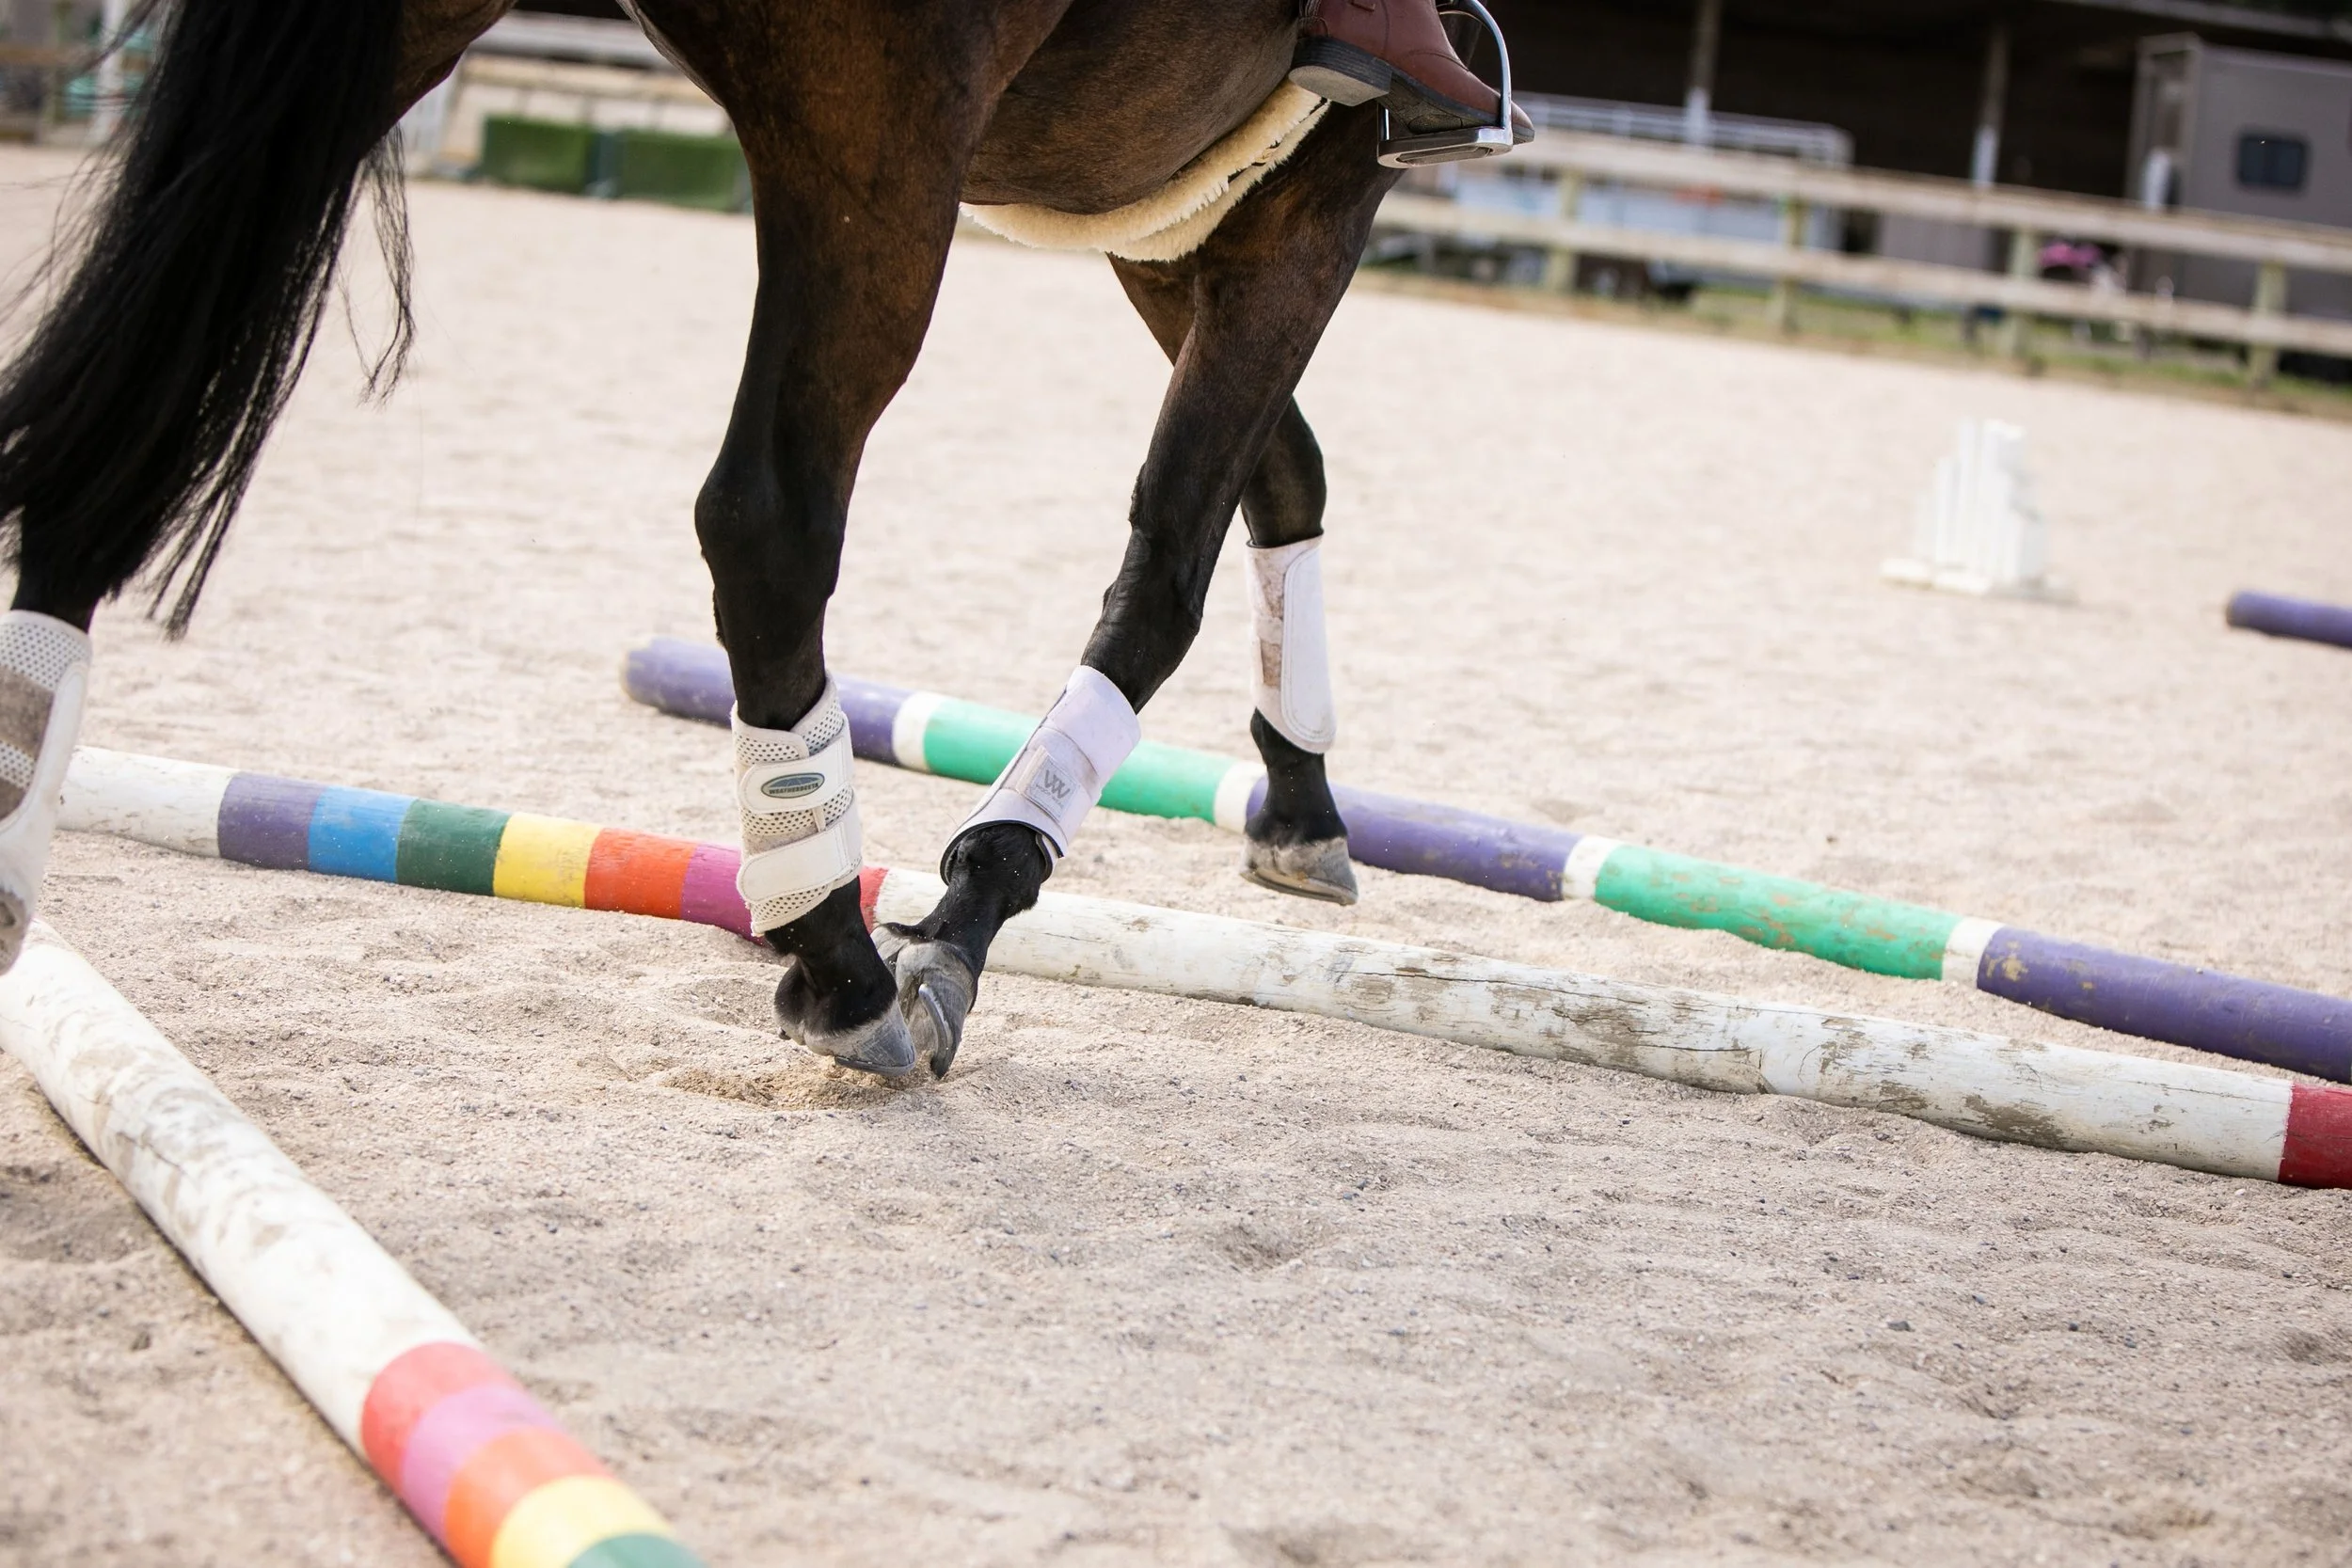
Horse hoof placement looking good through a Zig Zag line of poles
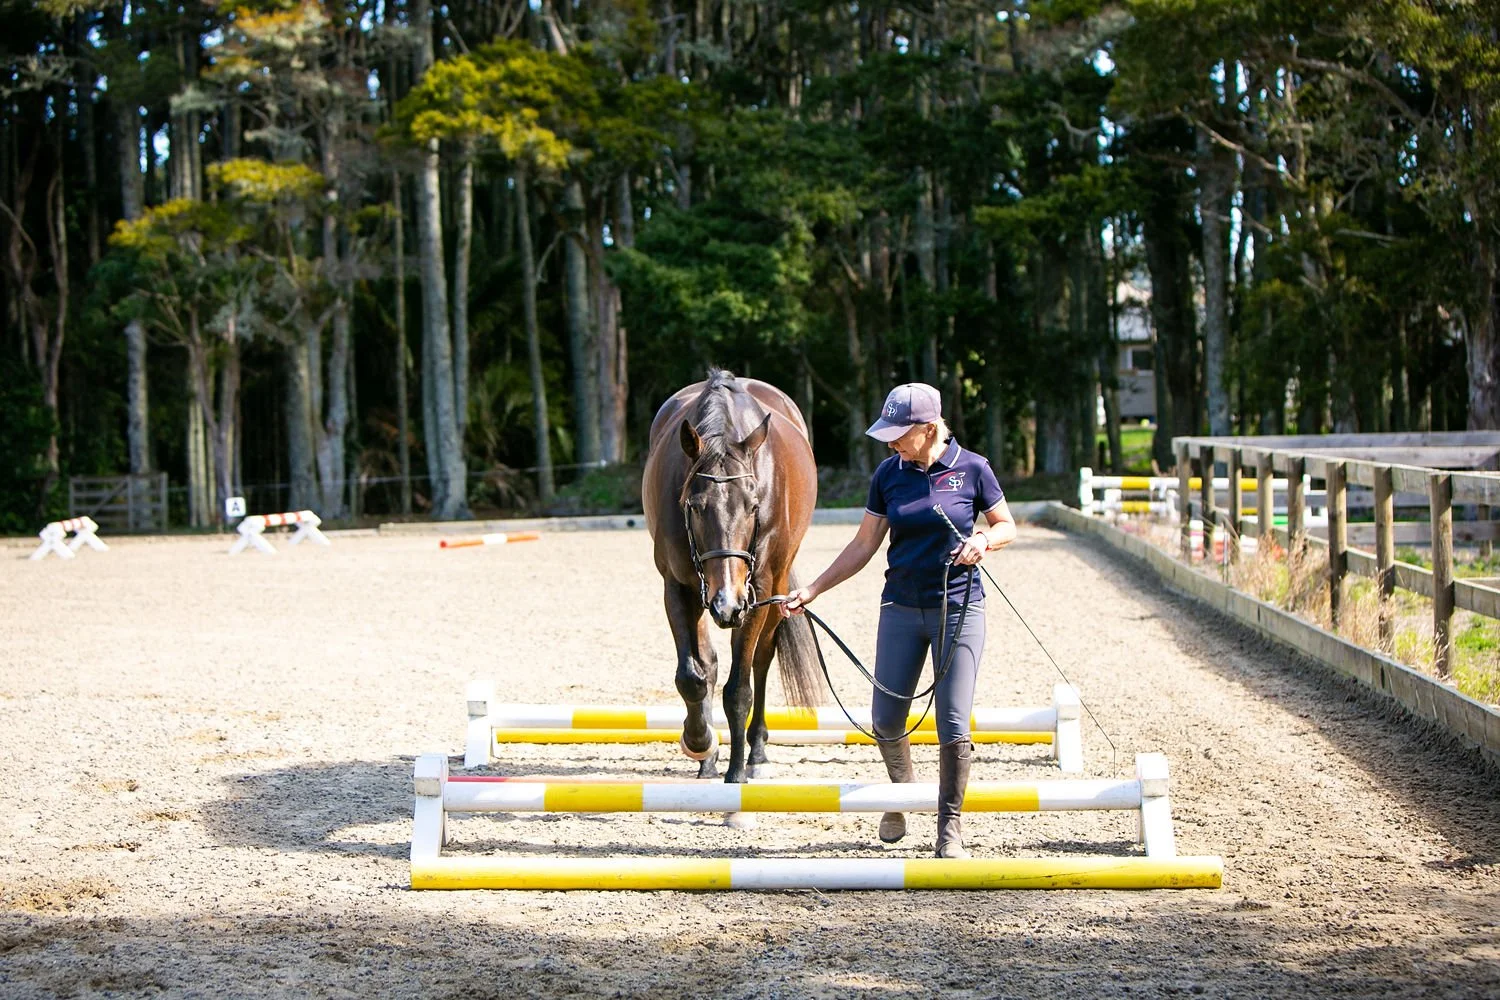
In hand pole exercises
Hugely beneficial to horses, slow deep practice, improving brain and hoof co-ordination, increasing limb range of motion, recruiting the smaller muscles, just to name a few.
But of course it’s not possible for the horse to have self-carriage if the rider doesn’t have the human version of rider self-carriage!
Rider biomechanics—how we sit and our ability to give clear, quiet aids—are a high priority in my lessons. There is simply no point in the horse navigating the poles beautifully if the rider loses their balance over the first pole and hinders the horse's movement. The ultimate goal is harmony: a horse and rider in sync and balanced that they look like one, making the whole picture look effortless.
Photos and videos of your riding are incredibly powerful tools for self-improvement. As humans, we don’t come with a built-in spirit level! Due to injury, daily life, or old habits, what feels straight and even to our bodies often isn't; we have simply become accustomed to moving in a certain way.
We are all a little bit wonky—some more than others! Having awareness of your own unique wonkiness, both in the saddle and in daily life, is a superpower if you are committed to improving your riding. Just like our horses, we are all individuals with different starting places depending on how far down the body-awareness journey we've travelled.
Below is a starting place to check how you are measuring up with your own biomechanics. Becoming a more self-aware rider makes you an easier load for your horse to carry, a more influential communicator, and a true partner in their movement.
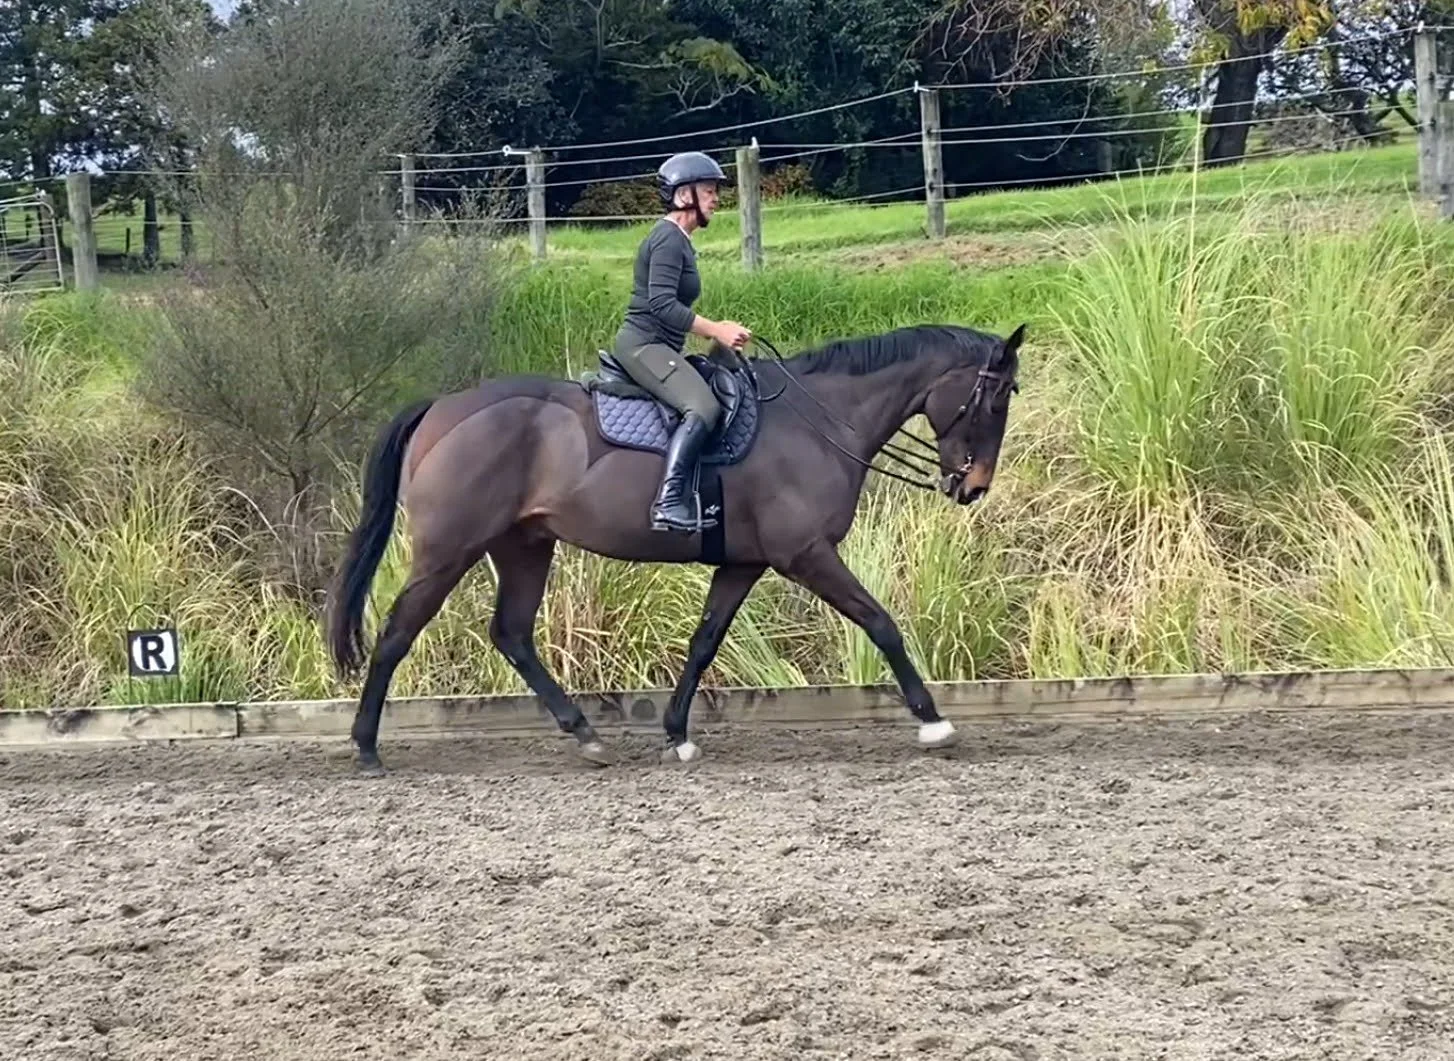
From the Side
This rider has closed the angle between the top of her thigh and pelvis a little too much, which has sent her butt to the back of the saddle. Leg position is fairly aligned, but if the horse were magically removed, the rider would topple forward. There is a slight hollow, emptiness in the rider’s back, around the level of her waistband. Her head is placed a little too forward to counterbalance the torso being forward. - Horse is slightly behind the vertical.
Your Rider Biomechanics Checklist
This is just a starting place—a small chunk of a much bigger conversation!
From the side
In the saddle, in riding position, imagine drawing a line lengthwise through the middle of your ear and the middle of your shoulder ball and socket from the side, splitting your torso into a more or less front and back.
Alignment: Would this line go through your greater trochanter and through to the outside knobble of your ankle bone?
Torso: Are your shoulders collapsed forward or pulled too far back? We all have different natural curvatures in our spines, but if you drew a line from the nape of your neck to your pubic bone, and another from the base of your neck at the back to your tailbone, would those two lines be more or less equal? If your front line is longer, you are leaning back; if your back line is longer, you are leaning forward.
Leg: Is the outside knobble of your ankle bone more in front of your greater trochanter? That creates a "chair seat" or a "water-skier" position. Is it too far behind your hip? That positions your leg too far back on the horse.
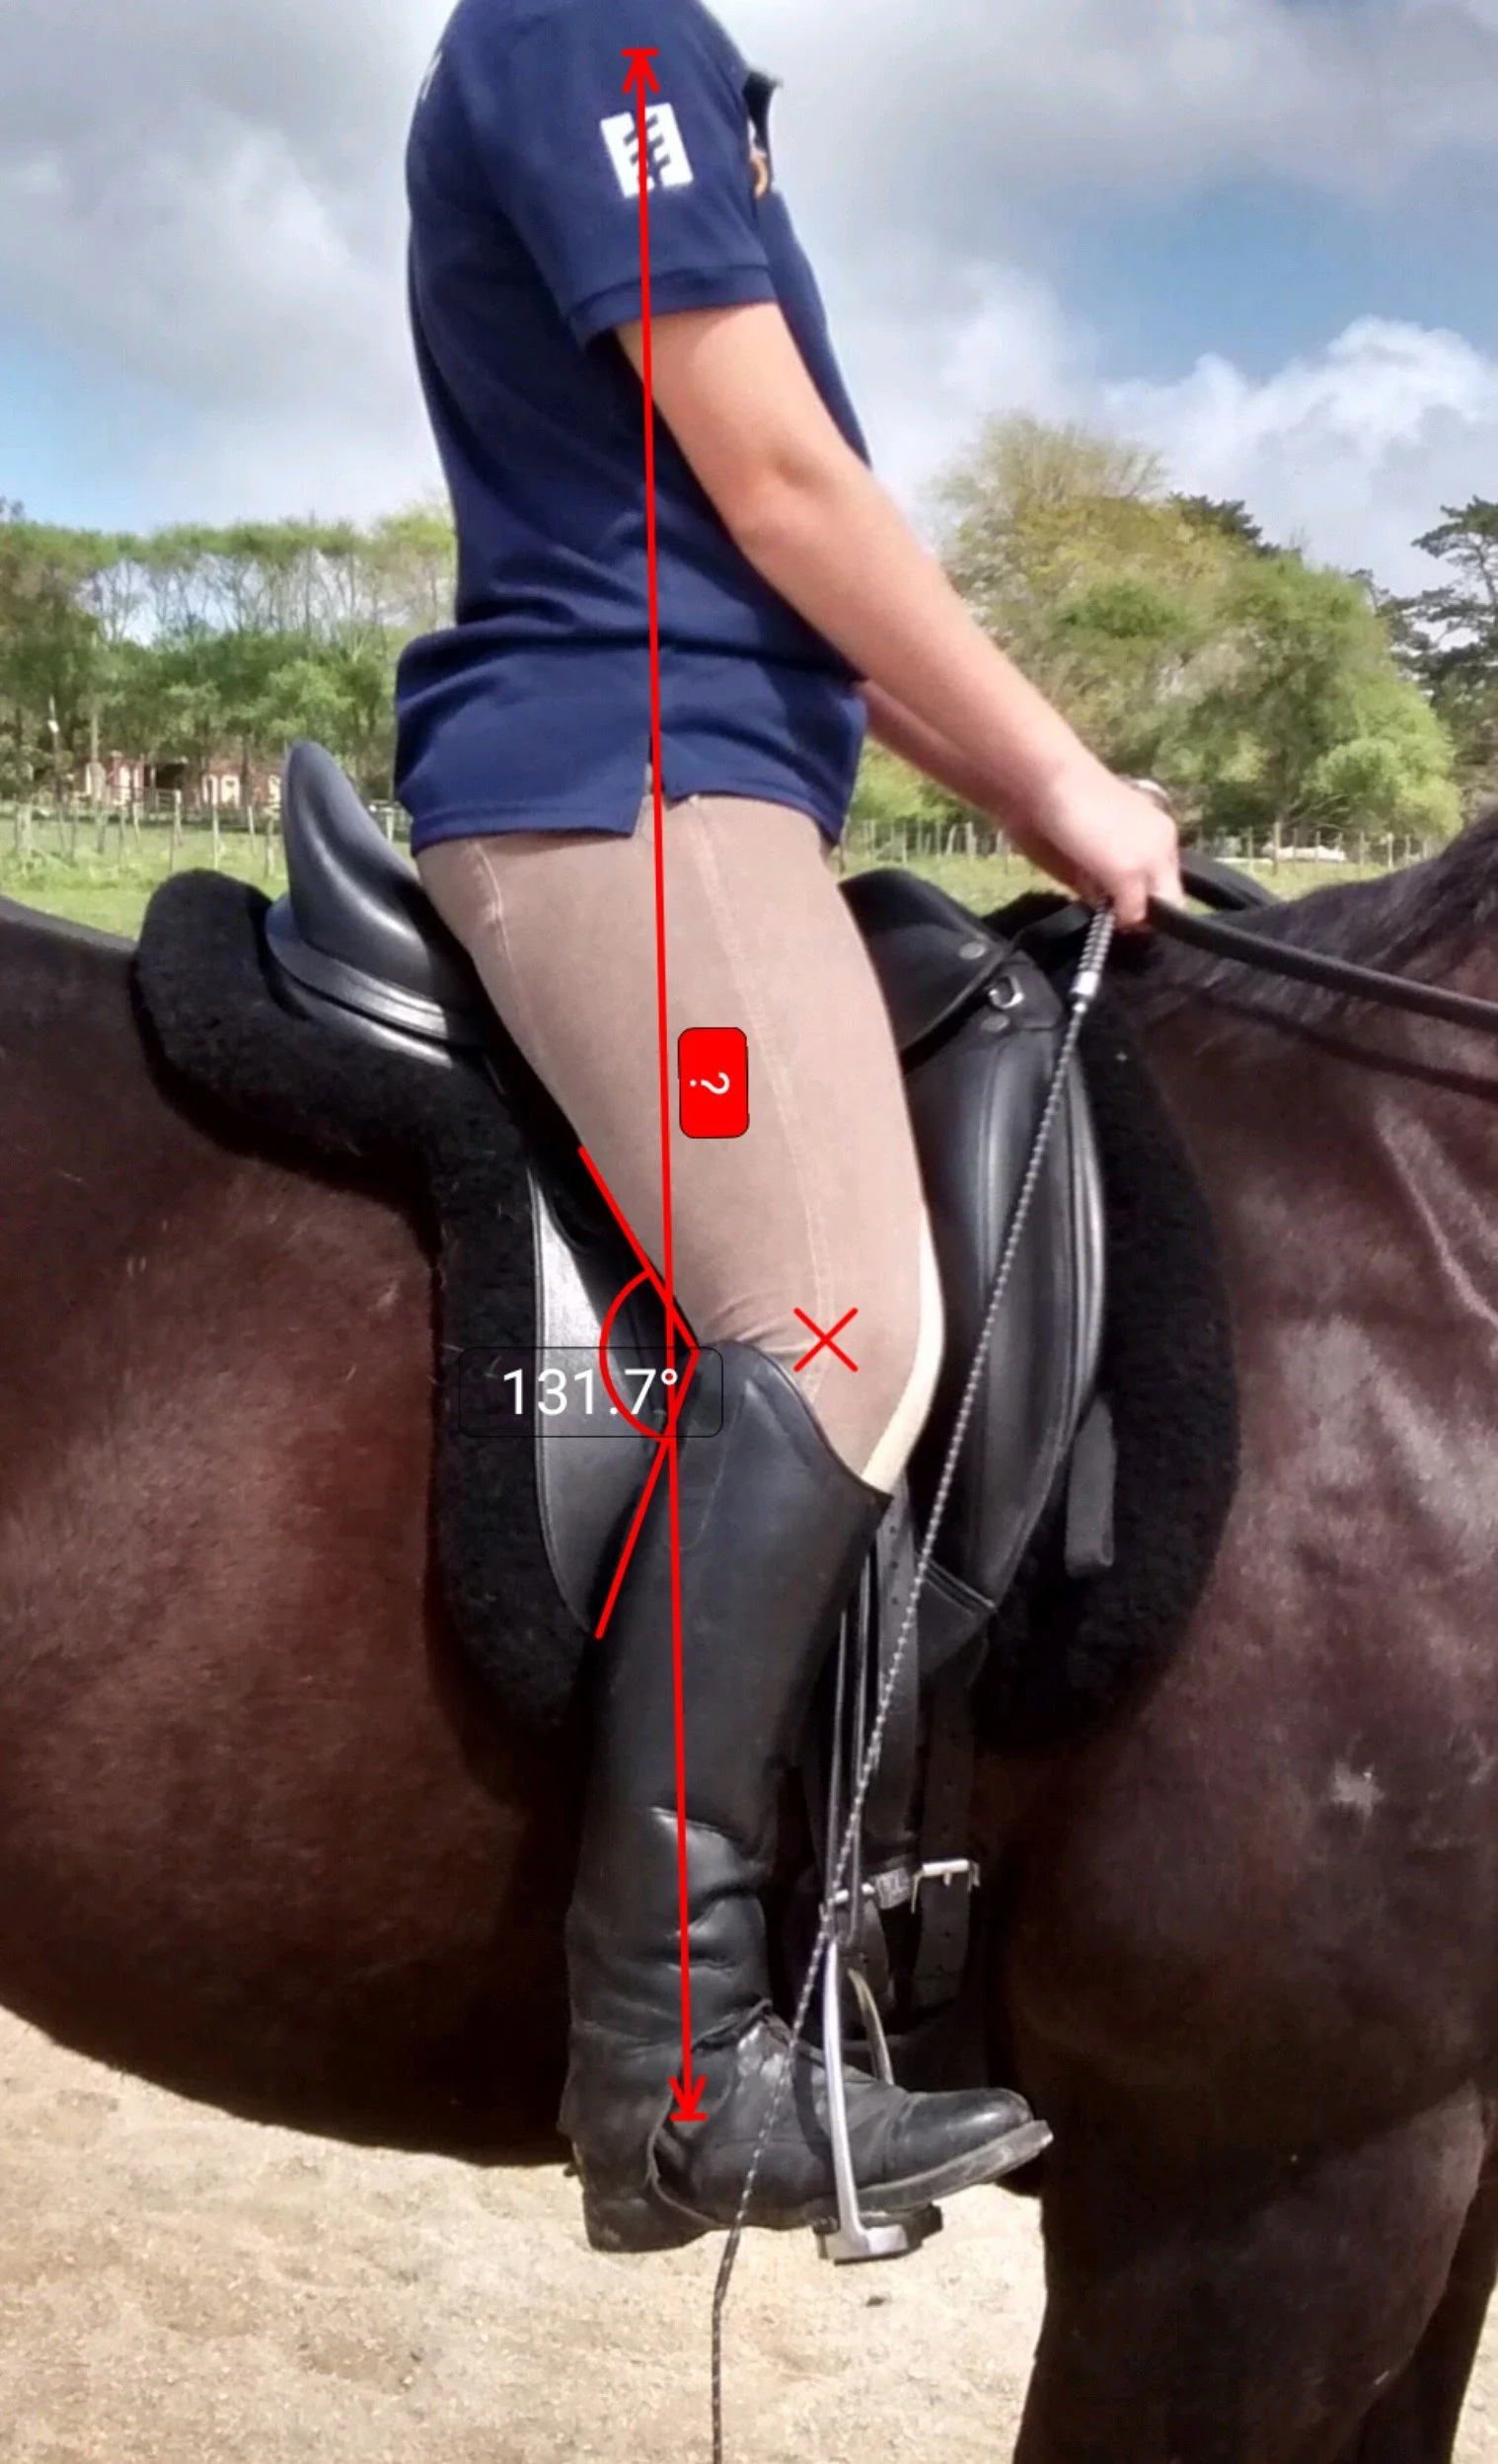
This rider’s alignment is close to ideal. However the angle behind her knee is a little to open and she’s a little too deep in her heel. If you imagined taking the horse out from underneath her she would probably stumble backwards rather than landing in balance on the ground.
The rider also looks like she’s standing in her stirrups. More weight in her feet rather than her weight being carried by her thighs.
Angle behind the knee should be between 90 and 100 degrees depending on the rider’s ability.
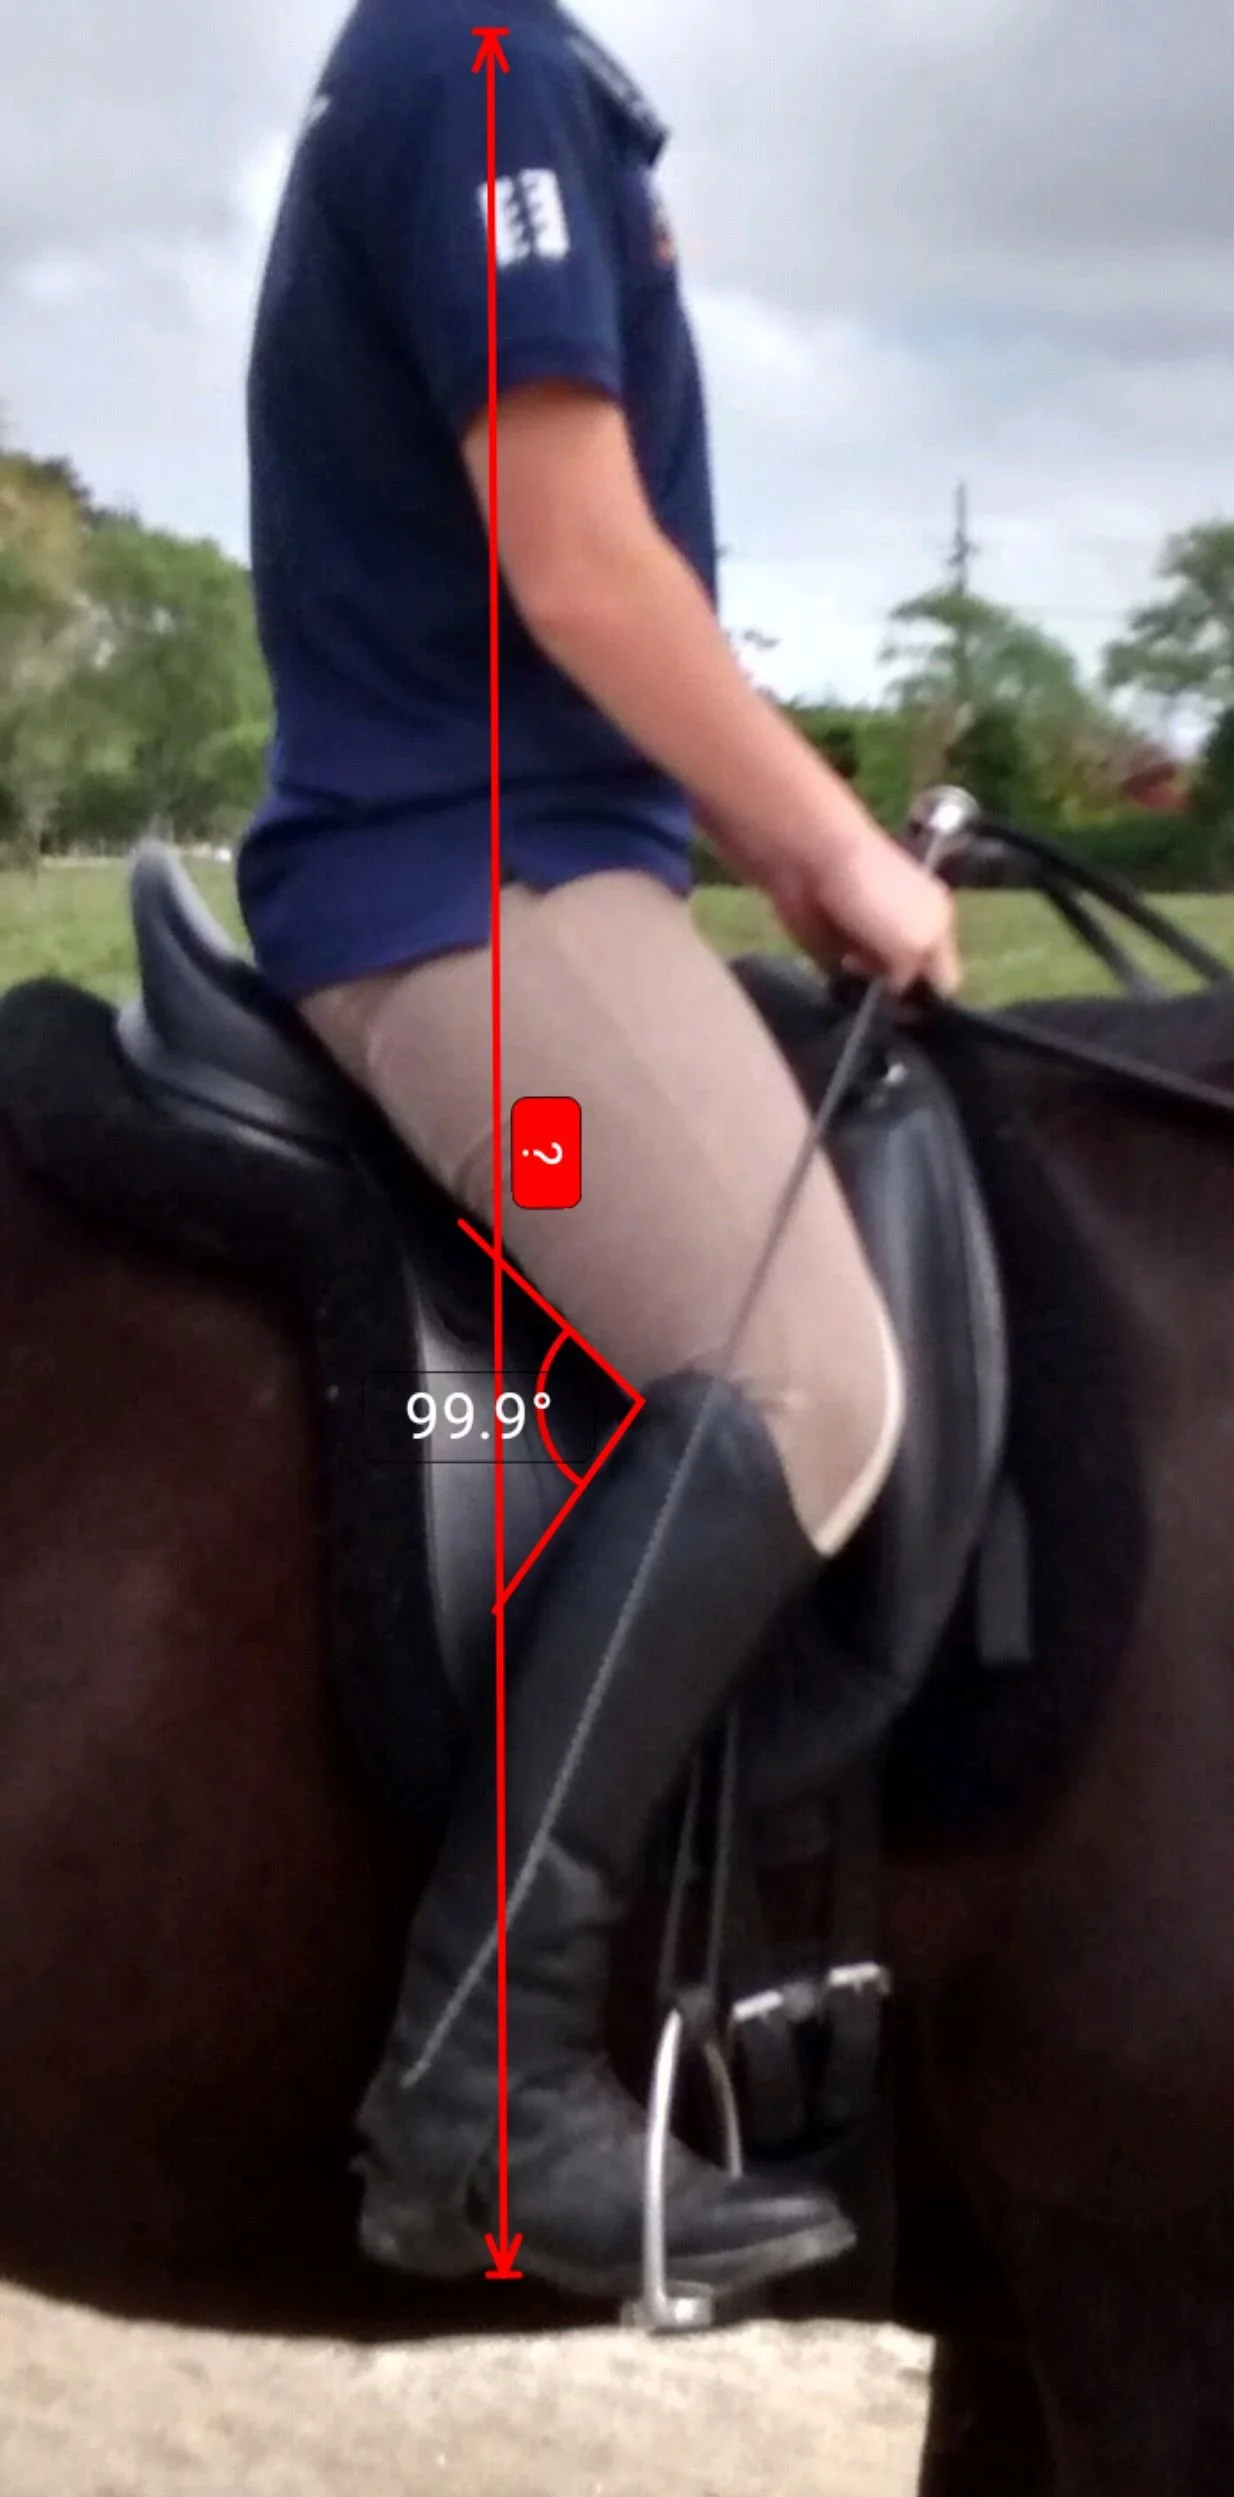
Now the rider’s alignment would mean that if her horse was magically taken out from underneath her she will land on her feet, on the ground, in balance, without toppline forward or falling back.
She is now distributing her weight around the horse’s rib cage, she foot light in the stirrups. She is neither standing in her stirrups nor is she being too deep and heavy in the saddle, she has found the happy balance!
From the Back
Imagine cutting yourself down the middle into a left and right side.
Weight Distribution: Are those two sides equal? Do you have exactly 50% of your weight on your right seat bone and 50% on your left?
The Saddle: Check that your saddle is sitting even, too! Research shows that 95% of saddle slip is actually horse-related, usually sliding toward the horse's weaker hind limb.
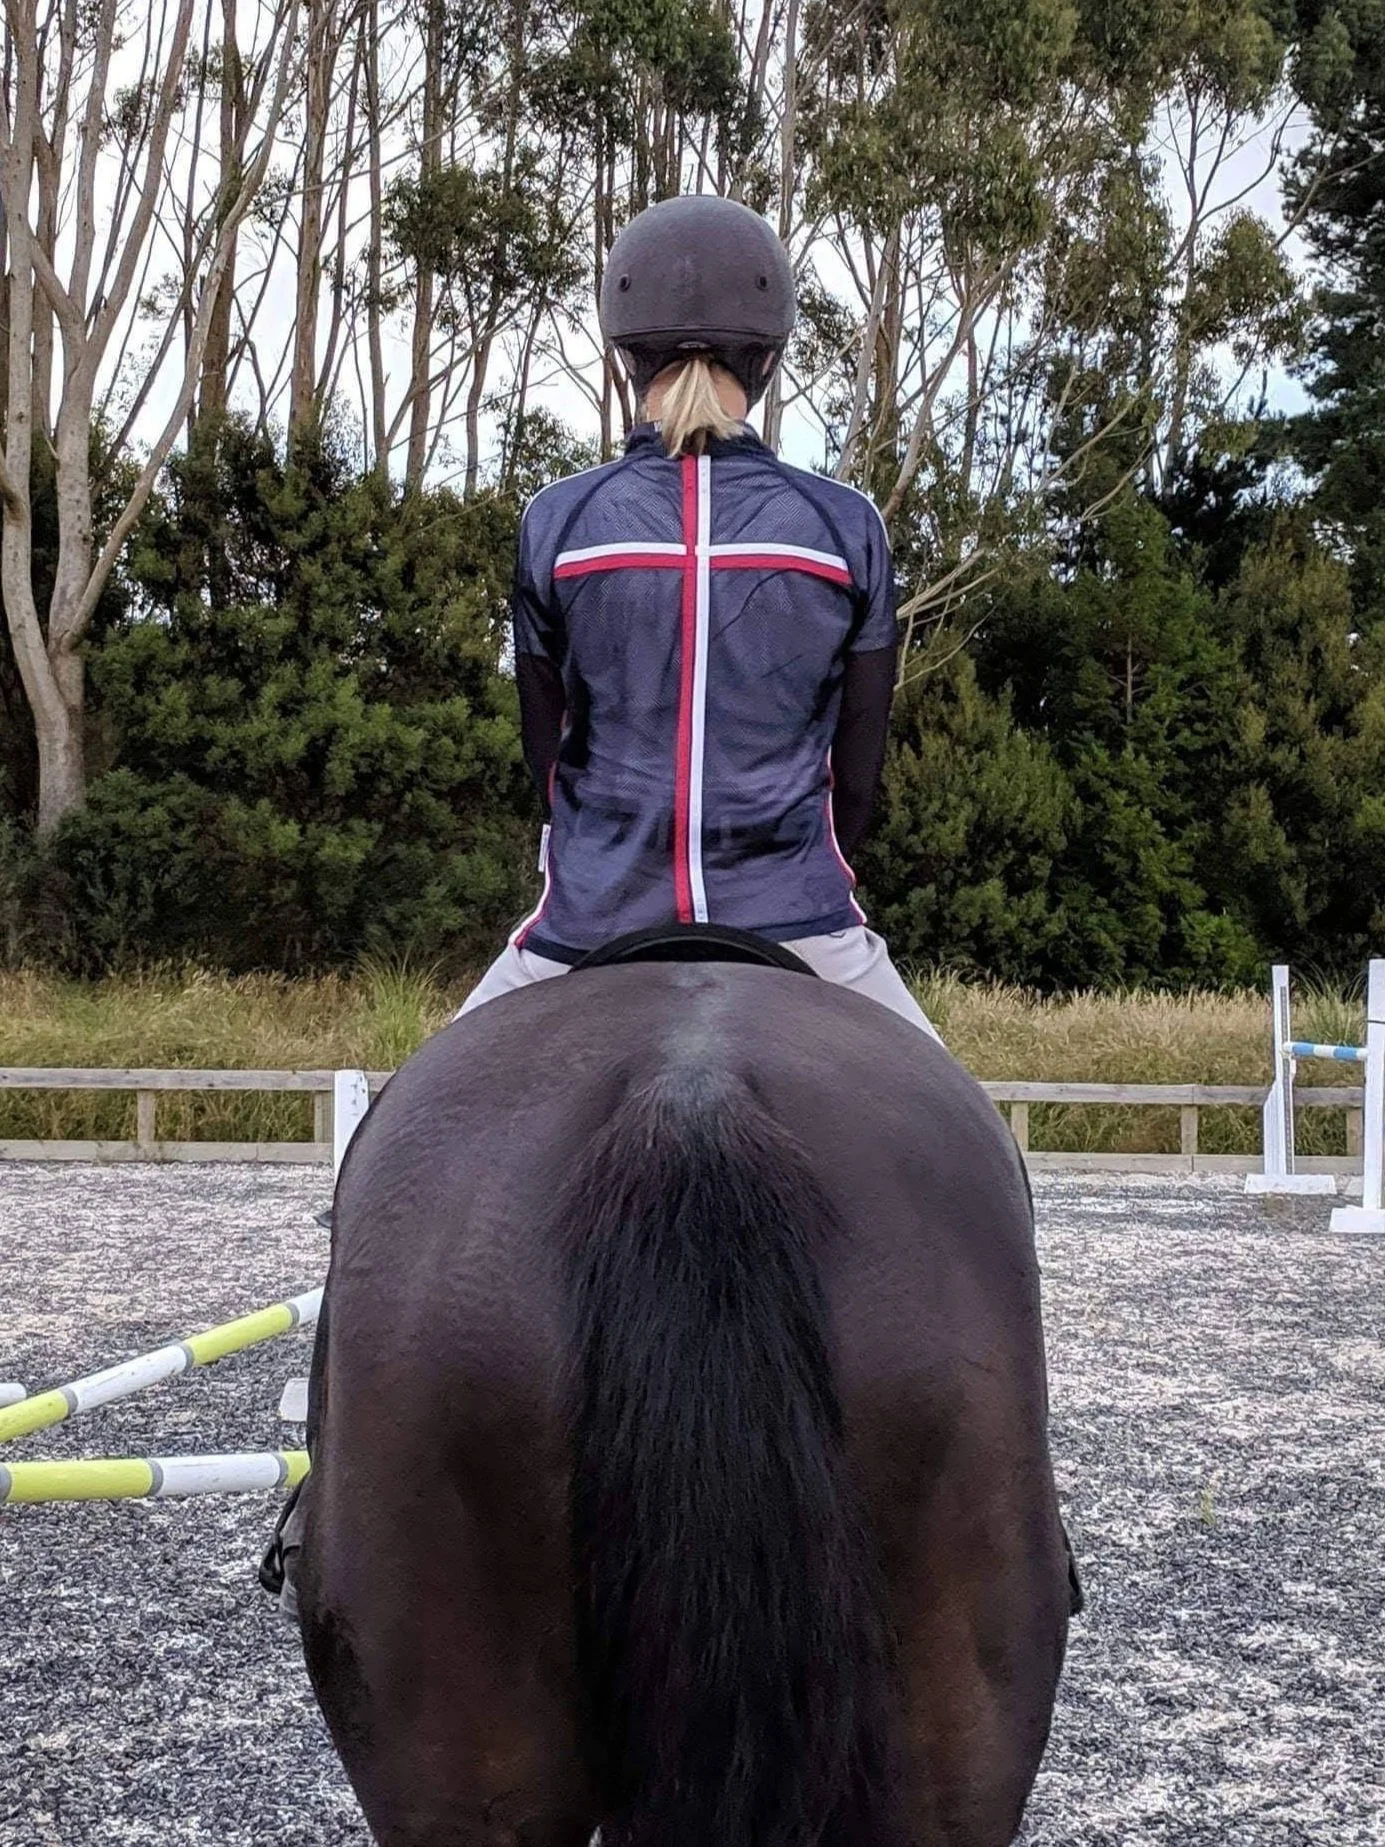
From the back
Do you look symmetrical?
50% of your weight over your right seat bone and 50% on your left?
The Core
Think of the core of an apple running all the way through from top to bottom. A rider's core is similar. I like to think of it as encompassing your knees, your thighs, your whole torso (front, back, and sides), and your armpits!
Your ability to activate your core appropriately will either help or hinder your balance. A stabilised core allows you to positively influence your horse’s speed, rhythm, straightness, and their ability to "lift their back" and engage their own core, thoracic sling, and hindquarters. Remember, we are riding the whole horse, not just parts of it!
Thighs and Knees
Thighs: The inside of your thighs should rest gently against the saddle without gaps, almost like they are lightly glued or sewn there. Your thighs share the responsibility of distributing and supporting your weight over and around the horse’s rib cage.
Knees: The inside of your knee should feel softly "hooked" onto the saddle—not flopping off, but not gripping tightly either. We want to find that happy medium.
The Laser Test: If you put a laser pointer on the front of each knee, which way would they shine? Out to the sides, or just past your horse’s nose? If they shine out to the sides, imagine where your thigh bones are and try rotating them inwards a little. This works wonders if your toes tend to point out sideways, too!
Lower Legs
Your lower legs should hang gently near the horse’s sides, passively waiting to give an aid only when required.
Less is More: If your leg is on all the time, you risk dulling your horse to the aids or forcing yourself to use excessive strength just to get a point across. Remember, a horse can feel a fly land on them; they can absolutely feel a light leg aid. If you have unintentionally taught your horse to only respond to a strong aid, you're in luck: with consistency and clarity, you can retrain them to respond to a lighter touch.
From the front
If you divide this rider into a left and a right side, there’s probably a little more weight going through her left side. She has a slight curve, collapse of her left side around the rib cage area, slight lean to the inside and therefore a lengthening of her right side of her torso. Her pelvis could also be in on the action hitching up or dropping down the side of the horse.
Hands and Arms
If your hands and arms are misbehaving, it is usually because something in the core area isn't working optimally to support them.
The Connection: Remember, your hands are attached to your arms, which connect to your armpits, your shoulder girdle, and your back muscles. True contact comes from your back, through to your arms.
Well, that’s probably enough to think about for now! As I mentioned earlier, there is loads more to talk about, but I always try to offer these concepts in bite-sized chunks. Depending on your journey, this information might be brand new or a helpful refresher.
I plan to build on this in future posts—delving deeper into specific details so we can improve our ability to be a useful human for our horses to carry, and ultimately help them stay sounder for longer!
If these concepts resonated with you and you’re ready to put them into practice, I would love to help you navigate the journey! Whether you want some expert eyes on your biomechanics or want to try some tailored "Poles with a Purpose" setups, here is how we can work together:
Join me in person: I have a few upcoming clinic dates with spaces available! You can catch me next at:
Sat 18th July – Willow Farm, Muriwai, Auckland
Sat 1st Aug and Sun 2 Aug – Brookfield Estate, Waimauku, Auckland
I also teach at other local arenas and at my arena in Woodhill, Helensville, Auckland.
Not local? Work with me remotely: If you aren't local to my area, we can still absolutely work together. I regularly work with riders and handlers remotely, using video coaching to analyse everything from your pole work sessions to rider biomechanics from afar. It’s an incredibly powerful way to get tailored feedback from the comfort of your own home arena.
Email Sue@suepequestrian.co.nz to book an in-person lesson or chat about how remote coaching can work for you. Here’s to lighter aids, better balance, and happier horses!